


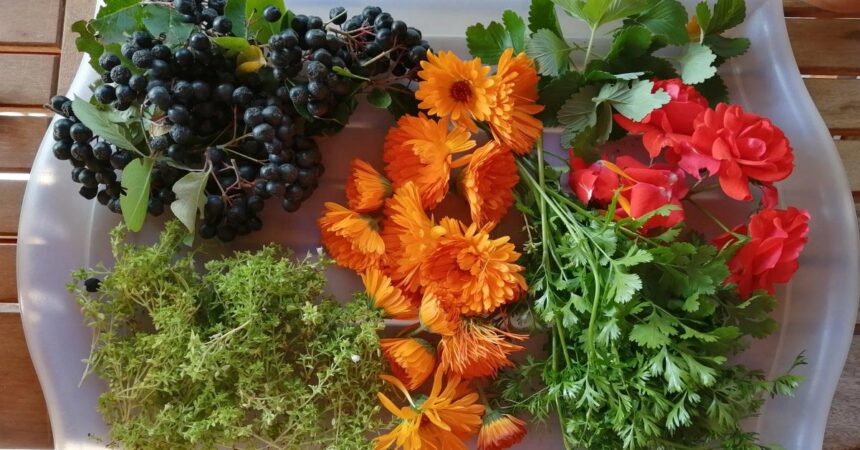
Storing homegrown herbs for the winter months can not only save you money but is also a great way to enjoy the taste and aroma of your own produce through the cold winter months. Herbs you’ve grown yourself are better for your health, and definitely better-tasting than the ones sold in the supermarkets.
You can dry or freeze your favorite herbs to use in cooking, brew tasty and refreshing herbal teas, and make herb-flavored seasonings and dressings for your meals.
No matter what herbs grow in your garden, if you know how to store herbs in winter, you can go on using them in your cooking during the cold months ahead. Many people store traditional kitchen herbs, like thyme, oregano, cilantro, dill, parsley, sage, lavender, rosemary, and basil, but you can also gather and store medicinal herbs, like calendula, chamomile, coneflower (echinacea), and nettle. Fresh herbs can be prepared for winter use in the form of tinctures or infusions that you can store in the fridge (or on the shelf, if you use alcohol). Coneflower, for instance, is an amazing herb to have in your kitchen in winter. Tea and tinctures from its flowers, stems, and roots are used to support and strengthen the immune system during the flu season. Calendula, on the other hand, can be used for salves and creams.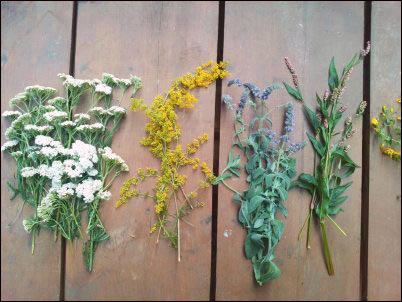
Before you begin gathering your herbs for winter storage, decide on several varieties you want to save for winter and what you’ll do with them. Don’t try to store everything, since some herbs that yield less harvest or those you don’t use often may be better enjoyed during the summer. Prepare a place where you’ll dry the herbs, as well as all the utensils and accessories you’ll need. I gather herbs into paper bags. Never store gathered herbs in plastic bags. If they’re not dry yet, this can cause the plants to rot, and it’s definitely the worst choice for keeping the herbs’ flavor. Then I use flat trays to lay out the herbs for drying. Other options include using drying racks or a food dehydrator (I’ve never tried this method, so carefully check your device’s settings to prevent burning your herbs). After experimenting with various drying methods, I can also recommend laying the herbs out on paper towels, as this helps absorb any extra moisture. Prevent mold when drying by spreading the herbs flatly, in a single layer. Stacking herbs one on top of the other will interfere with the drying and can cause mold or decay.
Harvesting your herbs is a process that continues throughout the summer months and until the first frost. Freezing and drying herbs in small quantities throughout the summer is a perfect way to prepare larger quantities, while spending less time per week. I find that snipping your herbs in small portions also prolongs the harvest, since most herbs regrow and will yield more produce if regularly cut. A sunny midday or afternoon is the best time to pick your herbs. This gives time for the morning dew to evaporate and ensures that the herbs are dry and aromatic. Ideally, gather before the herbs bloom, but if they’ve already started blooming, you can often fix the situation by cutting the flowers and pruning out the leggy stems.
Drying is the main, traditional method for storing herbs, used by generations of our ancestors. It also allows for a number of versatile uses – brewing herbal teas, mixing with salt and pepper to create seasonings for meat (barbeque rubs, for instance), vegetables, and other food, or simply drying the herbs to add as spices during cooking.
The best herbs for drying are the hardier types, like rosemary, thyme, sage, oregano, and marjoram. Choose a dark place with good airflow and low humidity, and once dry, use glass or tin containers for storage. I always recommend labeling the herbs immediately, since they can be hard to tell apart, especially when crushed. I place small paper cards with the herb’s name on the drying tray, since I’ve had a few cases when I wasn’t entirely sure what herb I was storing. Most herbs will last for a few years when dried, but they are at their best in their first year, both in flavor and aroma. You can also make a small store of medicinal herbs, like calendula, chamomile, nettle, or plantain, to use in teas, cough syrups, or poultices.
Freezing is a great way to save herbs like cilantro and parsley. You can chop them, so they’re ready to use immediately. When cooking, you can simply add as much as is called for in your recipe. If you love basil, like me, you may have been pondering how to keep fresh basil leaves available throughout winter. Basil is difficult to freeze because it goes black and mushy when frozen. However, if you freeze it in olive oil, it retains its flavor and appearance. I use ice cube forms, fill them with olive oil, store in the freezer until needed, and then simply add a few ice cubes into a sauce – perfect for Mediterranean recipes. Remember to use freezer-safe containers or bags.
Canning is another way to make use of your herb harvest. Add herbs to tomato sauces or drinks, can your own pesto, or add herbs to make flavored olive oil or vinegar. Olive oil infused with thyme or rosemary makes a tangy seasoning for salads.
Some canned food recipes I’ve loved making so far include sunflower seed pesto and canned pear and rosemary summer syrup.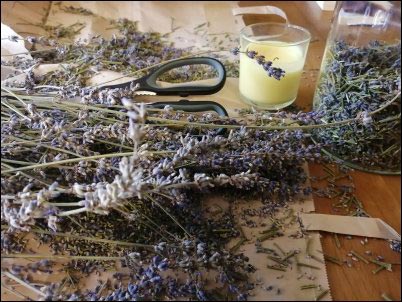
Recipe for Sunflower Pesto
To make a small to medium jar of pesto, you’ll need:
- A few small bundles of basil (you can mix it with parsley)
- 1 cup fresh (unroasted) sunflower seeds
- 1/2 cup grated parmesan
- 1-2 cloves of garlic
- Lemon juice (ca. 2 tbsp)
- Olive oil
- Salt (start with a small pinch and add more later if needed)
- Black pepper (optional)
Follow these steps to prepare this creamy and delicious pesto sauce:
- Blend all the ingredients in a blender until the consistency is just right
- Add lemon juice or salt (and pepper) according to flavor and mix
- Pour your pesto into glass jars, leaving a little space at the top
- Pour an even layer of extra virgin olive oil on top of the pesto sauce
- Refrigerated, it lasts for several weeks, but you can also freeze it for several months in freezer-safe containers
Recipe for Pear & Rosemary Summer Syrup
You’ll need:
- 1-2 large pears
- 3-4 sprigs of rosemary
- 2 cups sugar
This is how to make this sweet and pleasantly herbal drink. You can enjoy it cold or warm:
- Cut the pears in half
- Bring water to a boil
- Add sugar and stir until it dissolves
- Then add the pears and rosemary
- Let the fruit and herbs simmer on the stove for about 30 – 40 mins.
- Pour into a bottle and store in the fridge for a week, or first filter the drink (so that only the liquid remains) and can it to last for several months
Recipe for ice cubes with olive oil for Mediterranean dishes
- Take a few sprigs each of basil, oregano, parsley, and thyme (you can also include marjoram or sage, or exclude a herb you don’t like)
- Chop finely and mix
- Take an ice cube tray and place a little of the herb mix in each section
- Pour olive oil to cover the herbs
- Freeze and use as needed when making pizza, tomato sauce for spaghetti, or other Mediterranean dishes

Apart from using them in food preparation, there are numerous other ways to enjoy and use your herbs. You can dry lavender flowers to use as natural décor for ice cream and other desserts. Add herbs frozen in ice cubes to cocktails or drinks (you can also use edible flowers, like pansies or violets). Dried lavender is often used in sachets to keep laundry and stored clothes fragrant, and some herbs, like mint, rosemary, and lemongrass, can be used to make natural insect repellents or air-freshening sprays for your home.
Growing herbs can be very rewarding, as even a little amount can last through the winter months. Make sure you choose herbs you actually like to eat. Once you experiment for yourself and learn how to store fresh herbs long-term, you’ll probably keep doing it every winter because of the amazing flavor they give to your meals.